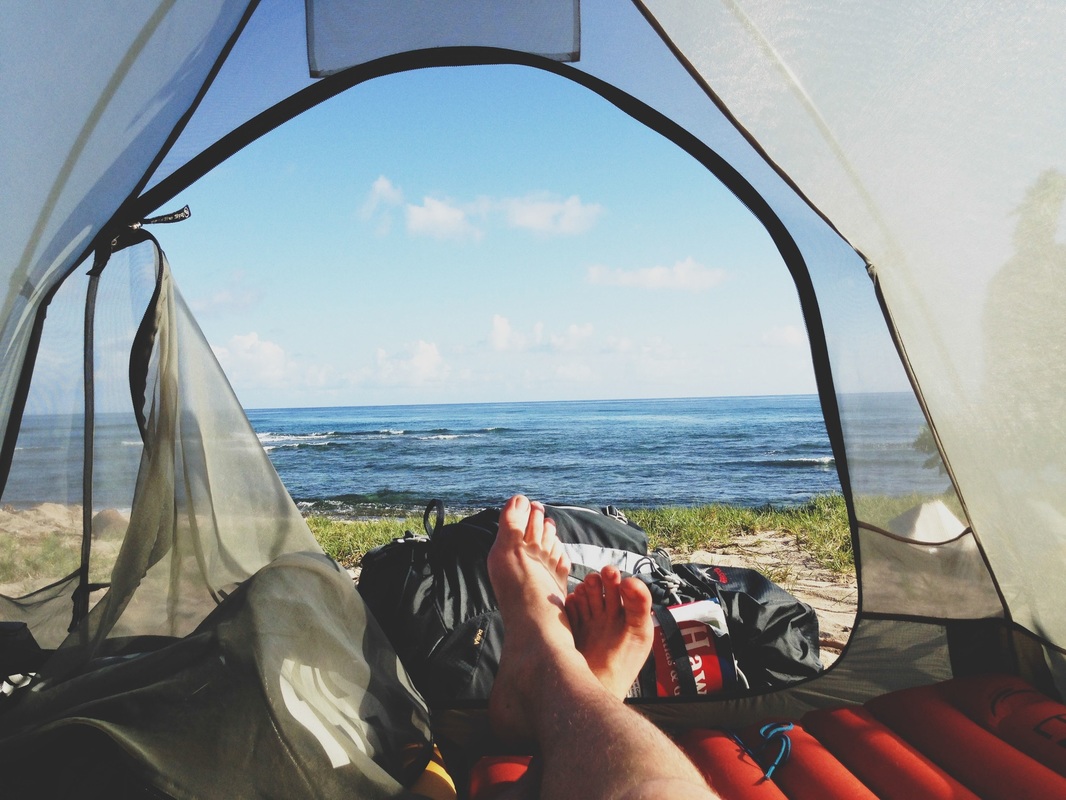
I'm James. This is my year of travel.


Then click on "Export pack" button at the bottom right window. GCH will parse all the configuration files. In the window that appears, click on browse and select the Generator folder where the zip file was decompressed.ħ. 
Go to "File > Import custom resources".Ħ. 4 folders that come from MV generator parts: "TV", "TVD", "SV", and "Face".ĥ. 5 folders A "Custom" folder that came from the zip file. All the configuration files required to the import (with file suffix ".json") At this step, your folder should contain: On linux/SteamOS system: "~/.local/share/Steam/steamapps/common/RPG Maker MV/Generator"Ĥ. On windows system, it is typically: "C:/Program Files (x86)/Steam/steamapps/common/RPG Maker MV/Generator" The exact location of the Generator folder depends on the your system and how Steam is installed. Copy the contents of the "Generator" folder from RPG Maker MV installation folder to the previous one where you unzipped the configuration files. Unpack the zip file in a folder of choice. Make sure RPG Maker MV and all its DLCs are updated.Ģ. Here is a step-by-step guide with instructions on how to import Kid parts with the configuration files:ġ. It requires RPG Maker MV Kid DLC to work. The import must be done by you, based on your RPG Maker MV installation and on the configuration files provided by this workshop item. Note that this workshop item does not contain RPG Maker MV Kid parts! It only contains all the necessary files to make the import easily. A major noticeable difference is the chant pose arm position in SV, as well as TVD overall positioning.This workshop item provides configuration files to allow the import of RPG Maker MV Kid generator parts into GCH. MZ overall positioning is slightly changed from MV. The official body styles compatible with Character Generator MZ are: MZ, MV, and MV Beastman. There is no alternative file name option, but you can replace the body image files to suit other generator style parts. This graphic relates directly to the body graphics in Face, SV, TV, and TVD. Glasses - m020 m021 m022Īlso contained in the Face folder is a file named FG_ Body_ p01_ c1_ m001.png. *I recommend maintaining the 'c' file's color profile in order for the system to function correctly. Other areas will use their own mask colors examining this detail closely will reveal greater understanding into how simple and easy the system can actually be. 
In this example, color mask is HEX color #d3cec2 while the pseudo alpha is HEX #ffffff. Through the system's process converts the white area to transparent, and applies color to the areas which use another color. What this means is that, on its own, cannot be transparent. The 'c' file is color indexed and doesn't contain an alpha channel. When making a change to the color choice in the generator, it then applies this to the 'c' file's color mask. The accessory as it appears on the TV graphic and its 'c' counterpart.Īs you can see the graphic would be colored as default. This potentially allows for both parts to have multiple uniquely colored parts, and then both sections layered together to complete the look while still being able to layer a cloak on top. For example FG_ Clothing1_ p08_ c1_ m007.png(which looks like a cloak, but is not designated as a - perhaps to complete the outfit theme, style, or look of the clothing, will appear on top of ( FG_ Clothing2_ p08_ c2_ m008.png). In addition to this rule are Cloaks, Clothing, and Rear Hair- They may have Multiple Parts determined by their sub-section name. represents the cell, or layer in which the image part will appear on. This part number must match all related parts to be considered linked- meaning face graphic with p01 will be associated with p01 in TV, TVD, SV, and Variation. Lower-case 'p' must appear first and may be followed with numbers and letters. Images within the generator menu will be listed in the generator, in order, according to this number- p01 being top-most followed by p02, p03, etc. represents the part number as a means of identification. represents the sub-section within the main section may stand for accessory A and every file must have a sub section within the folder to be sorted into its corresponding sub-category. Main sections are as follows: Face Graphic, Side-View, Top-View, Top-View Damage. represents the generator's main section may stand for Face Graphic and must prefix every file within the Face folder to be considered. Having multiple files to make up an item allows for unique coloring options(being able to color parts separately).Īn underscore '_' will separate the different sections which instruct the generator on how to go about interpreting Not all images will require multiple files. Both files relate to, and make up the complete image.
0 Comments
Leave a Reply. |
AuthorWrite something about yourself. No need to be fancy, just an overview. ArchivesCategories |
 RSS Feed
